Golden Wax 464 is a popular choice among candle makers for its excellent fragrance throw, smooth finish, and clean burning properties. If you are new to working with Golden Wax 464, this article will guide you through the basics, from understanding the wax to troubleshooting common issues. By the end, you’ll be equipped with the knowledge and techniques to create beautiful candles with Golden Wax 464.
Understanding the Basics of Golden Wax 464
In order to work effectively with Golden Wax 464 instructions, it’s essential to understand its properties and why it is a preferred choice among candle makers. Golden Wax 464 is a versatile and popular choice in the world of candle making, known for its exceptional qualities that elevate the candle-making experience to a whole new level.
One of the key characteristics of Golden Wax 464 is its ability to hold a high fragrance load, ensuring that your candles fill the room with a delightful aroma that lingers for hours. This makes it a favorite among crafters who want to create candles that not only look beautiful but also smell amazing.

What is Golden Wax 464?
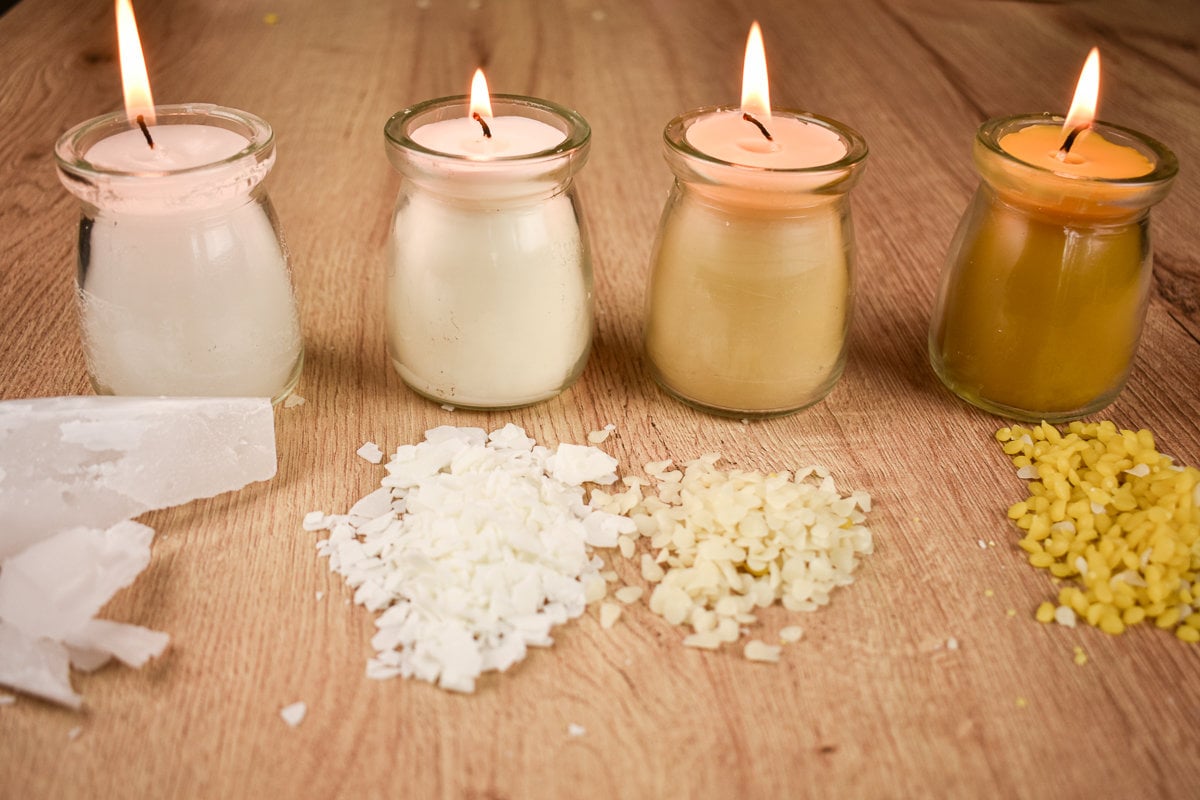
Golden Wax 464 is a soy-based wax that is known for its superior scent throw and excellent burning qualities. Made from 100% natural soybean oil, it is a renewable resource, making it an eco-friendly alternative to petroleum-based waxes. The natural origins of Golden Wax 464 make it a sustainable choice for environmentally conscious candle makers who want to reduce their carbon footprint.
Furthermore, Golden Wax 464 is biodegradable, ensuring that your candle-making process is not only enjoyable but also environmentally responsible. Its clean-burning properties make it a sought-after wax for those who prioritize sustainability and eco-friendliness in their craft.
Why Choose Golden Wax 464?
Golden Wax 464 offers several advantages that make it a top pick for candle making enthusiasts. It has a lower melting point, which allows for easier handling and pouring. This also helps to reduce the risk of burns during the melting process. Additionally, Golden Wax 464 has excellent adhesion to glass, resulting in a beautiful, smooth finish on the candles. The versatility of Golden Wax 464 extends to its compatibility with a wide range of candle dyes and fragrances, giving crafters the freedom to experiment and create unique candle designs.
Preparing for Your First Golden Wax 464 Project
Before diving into your first Golden Wax 464 project, it’s important to gather the necessary tools and prepare your workspace.
Embarking on a candle-making journey with Golden Wax 464 is an exciting endeavor that requires attention to detail and preparation. By understanding the tools and materials needed, as well as setting up a conducive workspace, you can set yourself up for a successful and enjoyable crafting experience.
Necessary Tools and Materials
To get started with Golden Wax 464, you’ll need:
- A double boiler or a dedicated wax melting pot
- A thermometer to monitor the wax temperature
- Candle containers
- Wicks
- Fragrance oils
- Candle dyes (optional)
- A heat-resistant stirring utensil
Each tool and material plays a crucial role in the candle-making process. The double boiler or wax melting pot ensures that the wax is melted gently and evenly, while the thermometer helps you maintain the ideal temperature for adding fragrance oils and dyes. Candle containers not only hold the wax but also contribute to the aesthetic appeal of the final product. Wicks are essential for creating the flame, and fragrance oils add delightful scents to your candles. Candle dyes, though optional, allow for creative customization, and a heat-resistant stirring utensil ensures thorough mixing.
Setting Up Your Workspace
Creating a dedicated workspace for your candle making endeavors is essential for efficiency and safety. Clear a clean, flat surface and cover it with a protective layer such as wax paper or aluminum foil. This will help to catch any spills or drips and make cleanup easier.
Moreover, organizing your tools and materials in a systematic manner can streamline the candle-making process and prevent any unnecessary disruptions. Consider setting up designated stations for melting the wax, preparing the containers, and adding fragrances and dyes. This structured approach can enhance your workflow and overall enjoyment of the craft.
Ensure that you have proper ventilation in your workspace to minimize the build-up of fumes. It is also important to keep fire safety measures in mind and have a fire extinguisher handy.
Step-by-Step Guide to Using Golden Wax 464
Now that you have everything prepared, it’s time to delve into the step-by-step process of using Golden Wax 464. But before we do, let’s take a closer look at the fascinating history of this remarkable wax.
Golden Wax 464 is a soy-based wax that has gained popularity among candle makers for its exceptional performance and eco-friendly nature. Developed by the experts at Golden Brands, this wax is a blend of hydrogenated soybean oil and soy-based additives. It offers a clean and long-lasting burn, excellent fragrance retention, and easy release from molds or containers.
Melting Golden Wax 464
Begin by melting the desired amount of Golden Wax 464 using a double boiler or a dedicated wax melting pot. It is essential to monitor the wax temperature using a thermometer, as overheating can diminish the fragrance throw and affect the appearance of the finished candle. But did you know that the melting point of Golden Wax 464 is around 120-125°F (49-52°C)? This low melting point makes it a breeze to work with, ensuring a smooth and hassle-free melting process.
Gradually heat the wax to the recommended temperature range of 160-180°F (71-82°C), stirring occasionally to ensure even melting. The slow and steady approach allows the wax to melt evenly, preventing any hot spots that could affect the quality of your candles.
Adding Fragrance and Color
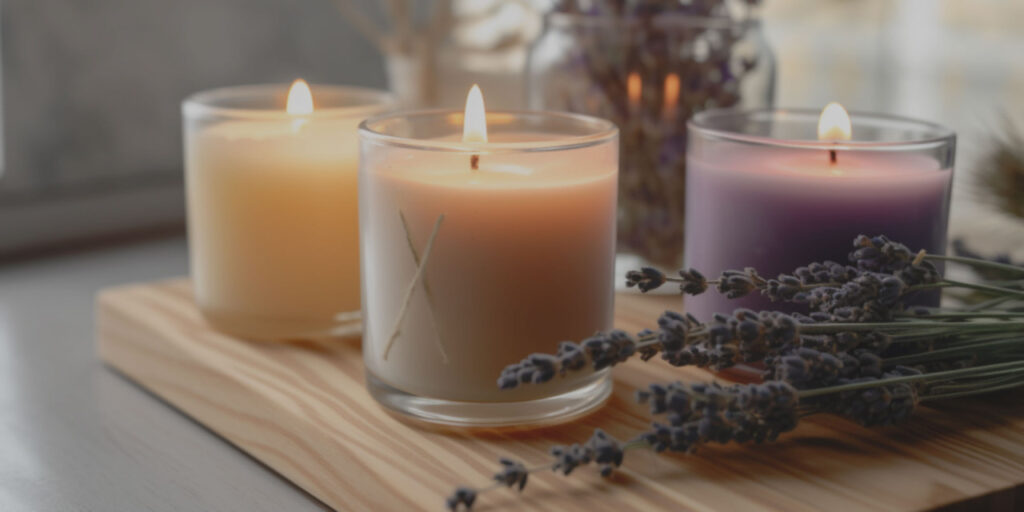
Once the wax has reached the desired temperature, it’s time to add fragrance oils and color if desired. Follow the recommended fragrance load for the specific fragrance oil you are using, typically around 6-10% of the total wax weight. But did you know that Golden Wax 464 has excellent fragrance retention properties? This means that your candles will not only look beautiful but also fill the room with a delightful aroma that lingers for hours.
Stir the wax gently but thoroughly to distribute the fragrance evenly. The gentle stirring motion helps to blend the fragrance oil with the wax, ensuring that every part of the candle is infused with its captivating scent. And if you wish to add color to your candles, use candle dyes specifically formulated for use with soy wax. Start with a small amount and gradually add more until the desired color is achieved, stirring well after each addition.
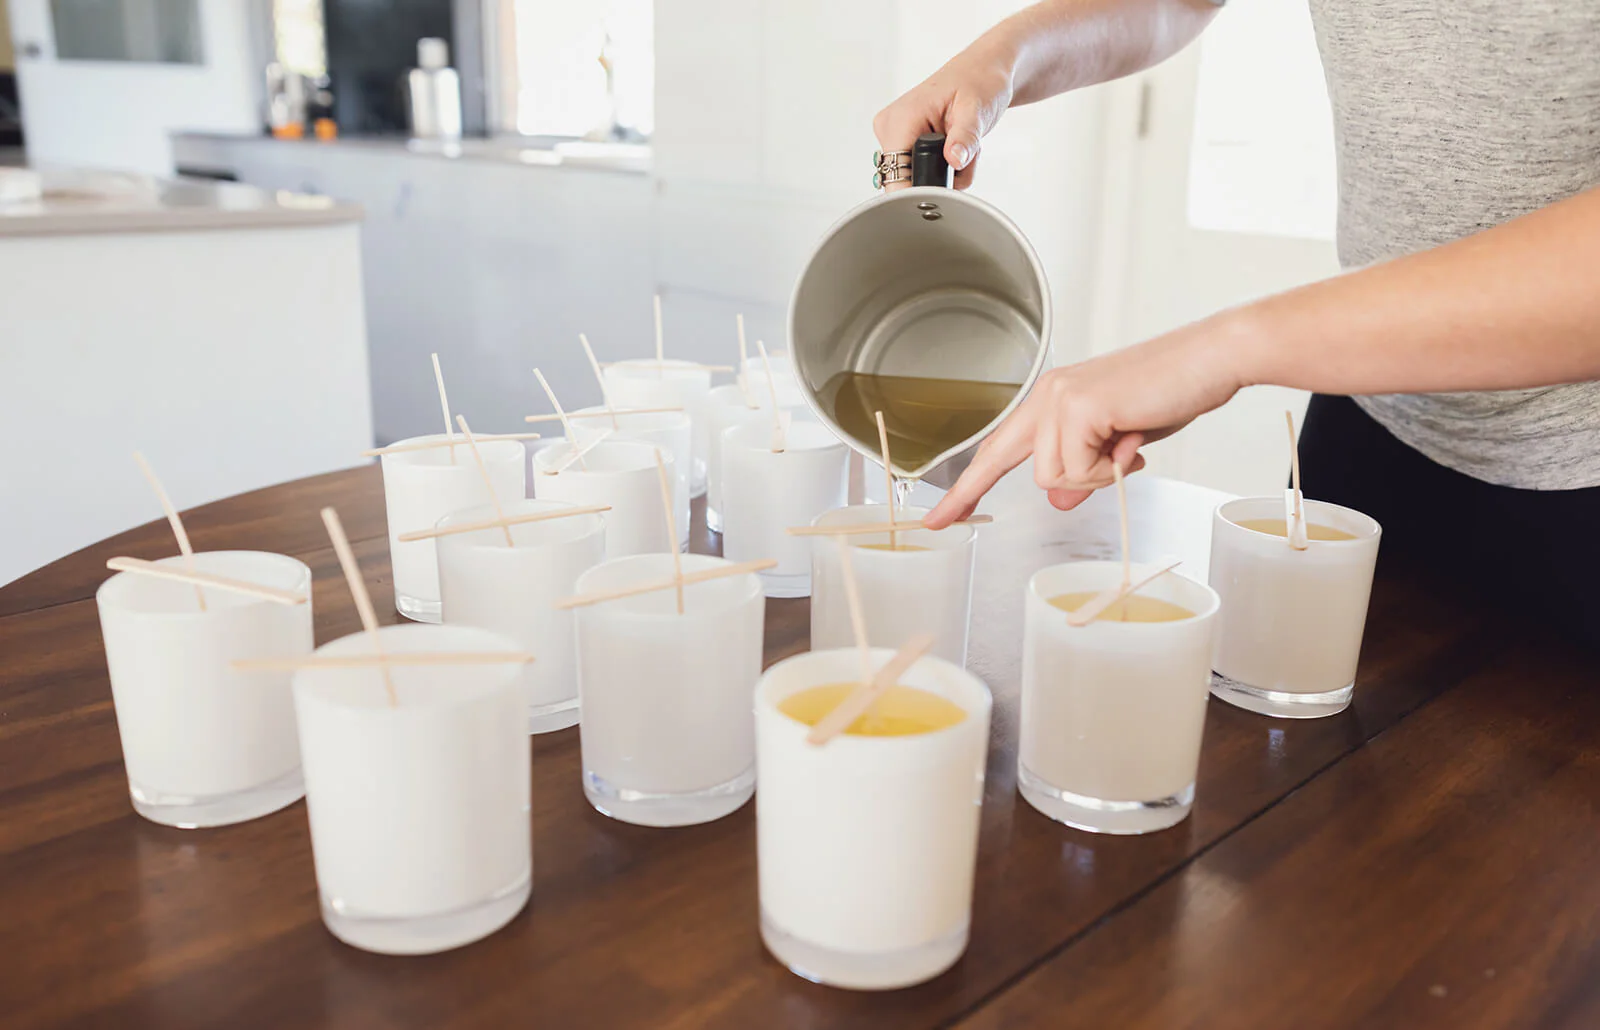
Pouring and Setting Your Wax
With your fragranced and colored wax ready, carefully pour it into the prepped candle containers. Leave a small space at the top to allow for the expansion of the wax as it cools. To avoid air bubbles, pour the wax slowly and steadily. If any bubbles appear, gently pop them with a heat gun or a skewer. Did you know that the pouring process is not only functional but also an opportunity for creativity? You can experiment with different pouring techniques to create unique patterns or layers in your candles, making each one a work of art.
Allow the candles to cool and set completely before moving or burning them. This can take several hours, so be patient to avoid any mishaps that may occur when handling hot wax. While waiting, take a moment to appreciate the transformation that is happening as the wax solidifies and takes its final form. It’s a magical process that turns simple ingredients into beautiful and captivating candles.
Troubleshooting Common Issues
Even with careful preparation, candle making can sometimes present challenges. Here are some common issues you may encounter when working with Golden Wax 464 and how to address them.
When delving into the art of candle making, it’s essential to be prepared for the occasional hurdle that may come your way. Understanding how to troubleshoot common issues can make a significant difference in the quality of your finished candles and overall crafting experience.
Solving Wax Crystallization Problems
If you notice a frosty or grainy appearance on your finished candles, it is likely due to wax crystallization. To prevent this, make sure to cool your candles slowly and store them in a cool, dry place. If crystallization occurs, gently heat the affected areas with a heat gun, being careful not to overheat.
Wax crystallization can be a frustrating issue to encounter, but with the right techniques, you can effectively address and rectify the situation. By understanding the science behind crystallization and implementing proper cooling methods, you can achieve smooth and flawless candles that are visually appealing and high in quality.
Preventing Sinkholes and Cracks
Sinkholes and cracks can occur when the wax cools too quickly or there are air pockets present in the poured wax. To prevent sinkholes, ensure that the containers are at room temperature before pouring the wax. Avoid rapid temperature changes, as this can cause cracks to form in the finished candle. If cracks do appear, you can try gently reheating the surface to smooth them out.
Sinkholes and cracks can be a common frustration for candle makers, but with proper precautions and techniques, these issues can be minimized or even avoided altogether. Taking the time to understand the factors that contribute to sinkholes and cracks, such as temperature fluctuations and air entrapment, can lead to more successful candle making endeavors and beautifully crafted final products.
Tips for Perfecting Your Golden Wax 464 Technique
With practice and attention to detail, you can perfect your candle making technique with Golden Wax 464. Here are some tips to help you achieve even better results:
Achieving Smooth Surfaces
To achieve a smooth and professional-looking surface on your candles, it’s important to pour the wax at the correct temperature. Pouring too hot can result in uneven surfaces and sinkholes, while pouring too cold can lead to cracking. Aim for a temperature between 135-145°F (57-63°C) for optimal results.
Creating Layered Wax Designs
If you want to add visual interest to your candles, consider experimenting with layered wax designs. Pour a thin layer of wax, wait for it to set partially, and then pour the next layer. Repeat this process for multiple layers, alternating colors or adding botanicals in between.
Remember to cool each layer for a few minutes before pouring the next to prevent the previous layer from melting or blending with the new one.
With these instructions and tips, you are now ready to start your candle making journey with Golden Wax 464. Enjoy the process of creating beautiful, fragrant candles that you can proudly share or keep for yourself. Happy candle making!
More to read: Finding Reliable Candle Wax Suppliers for Your Business