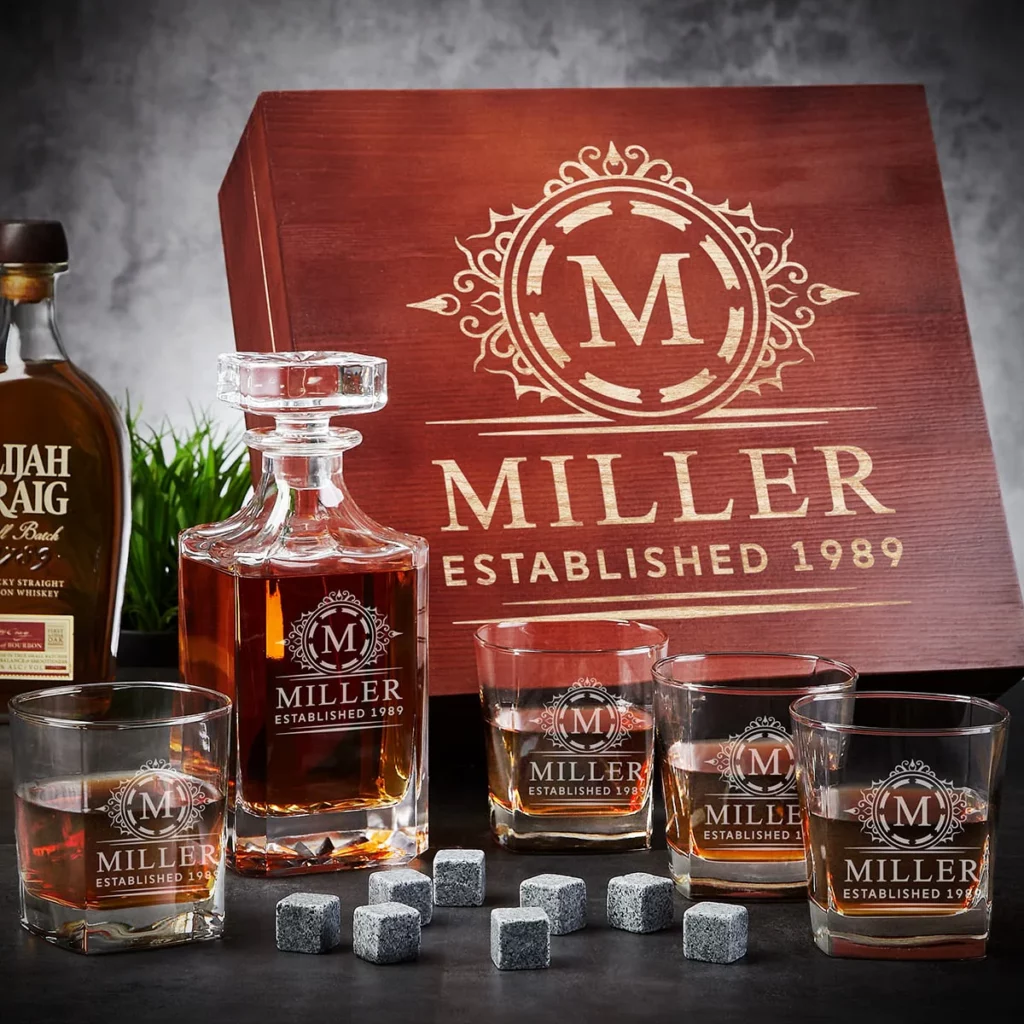
Whiskey has long been a beloved spirit, cherished for its rich flavours and complex aromas. In Australia, whiskey culture has...
Read More
Choosing Between Scotch, Bourbon & Whiskey Gift Sets
Gift-giving can often be a daunting task, especially when it comes to selecting the perfect present for a whisky enthusiast....
Read More

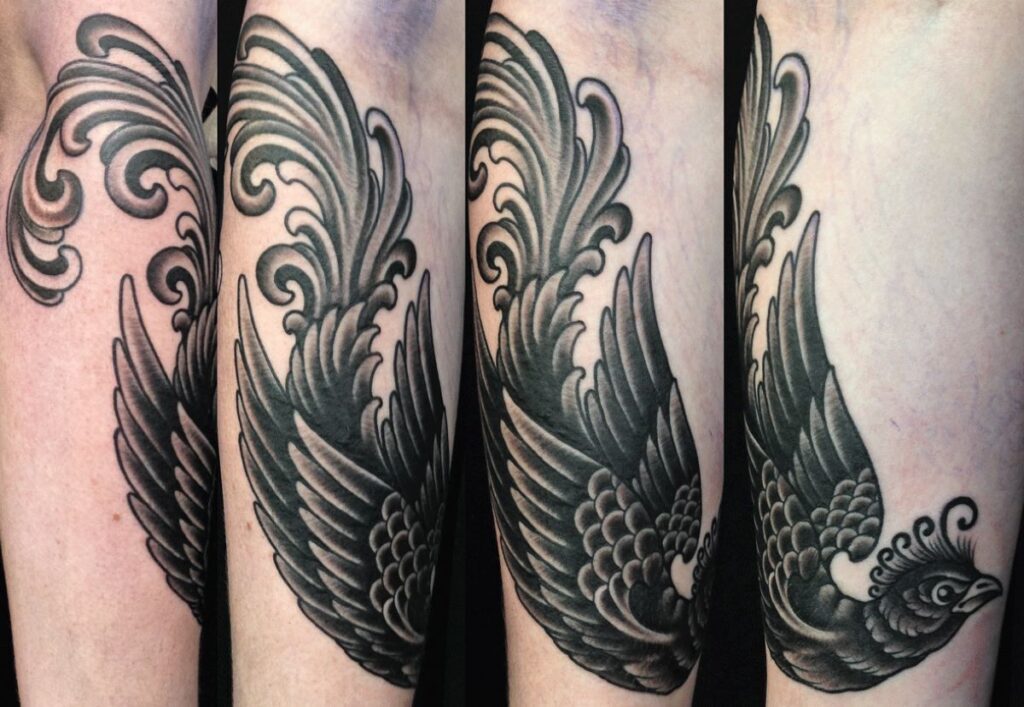
Choosing the Best Sydney Tattoo Artist for Your Style
Sydney's tattoo scene is vibrant and diverse, with a wide range of artistic styles on display. From traditional Japanese tattoos...
Read More

Where to Find the Best Tattoo Artists in Bondi Beach
Bondi Beach is a vibrant hub for tattoo artistry, blending beachside culture with world-class ink mastery. The local tattoo scene...
Read More

Food safety compliance software for audit readiness
Food Safety Compliance Software for Audit Readiness In an era where food safety is paramount, businesses in the food industry...
Read More
How food safety software solutions improve quality control
How Food Safety Software Solutions Improve Quality Control In the ever-evolving food industry, maintaining high standards of quality control is...
Read More

Target Multiple Muscle Groups with a Sitting Box Pilates Routine
Pilates has gained immense popularity over the years as a low-impact exercise method that focuses on core strength, flexibility, and...
Read More

The Power of a Pilates Reformer Box for Advanced Exercises
Pilates has long been celebrated for its ability to enhance strength, flexibility, and overall body awareness. Among the various tools...
Read More
Tattoo Shop Bondi Road: Iconic Designs in the Heart of Bondi
Bondi Road is a vibrant hub of creativity, culture, and lifestyle, and at its heart lies the Tattoo Shop Bondi...
Read More

Tattoo Artist Bondi Beach: Creating Timeless Artwork Near the Waves
Bondi Beach, synonymous with surf culture and vibrant sunsets, has become a melting pot for artistic expression. Tattoo artists thrive...
Read More

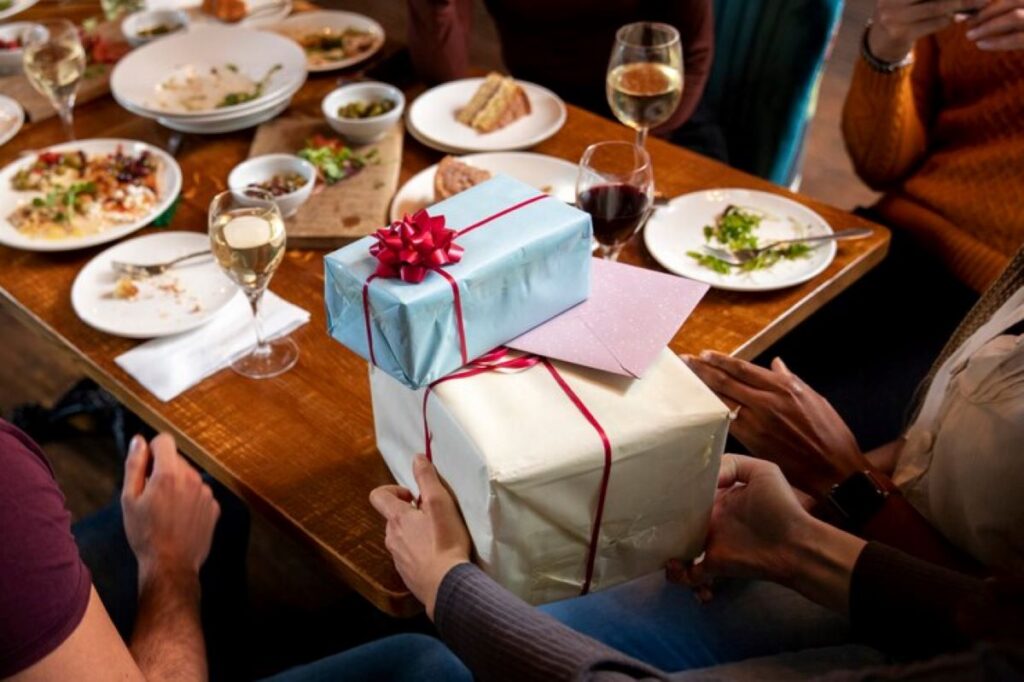
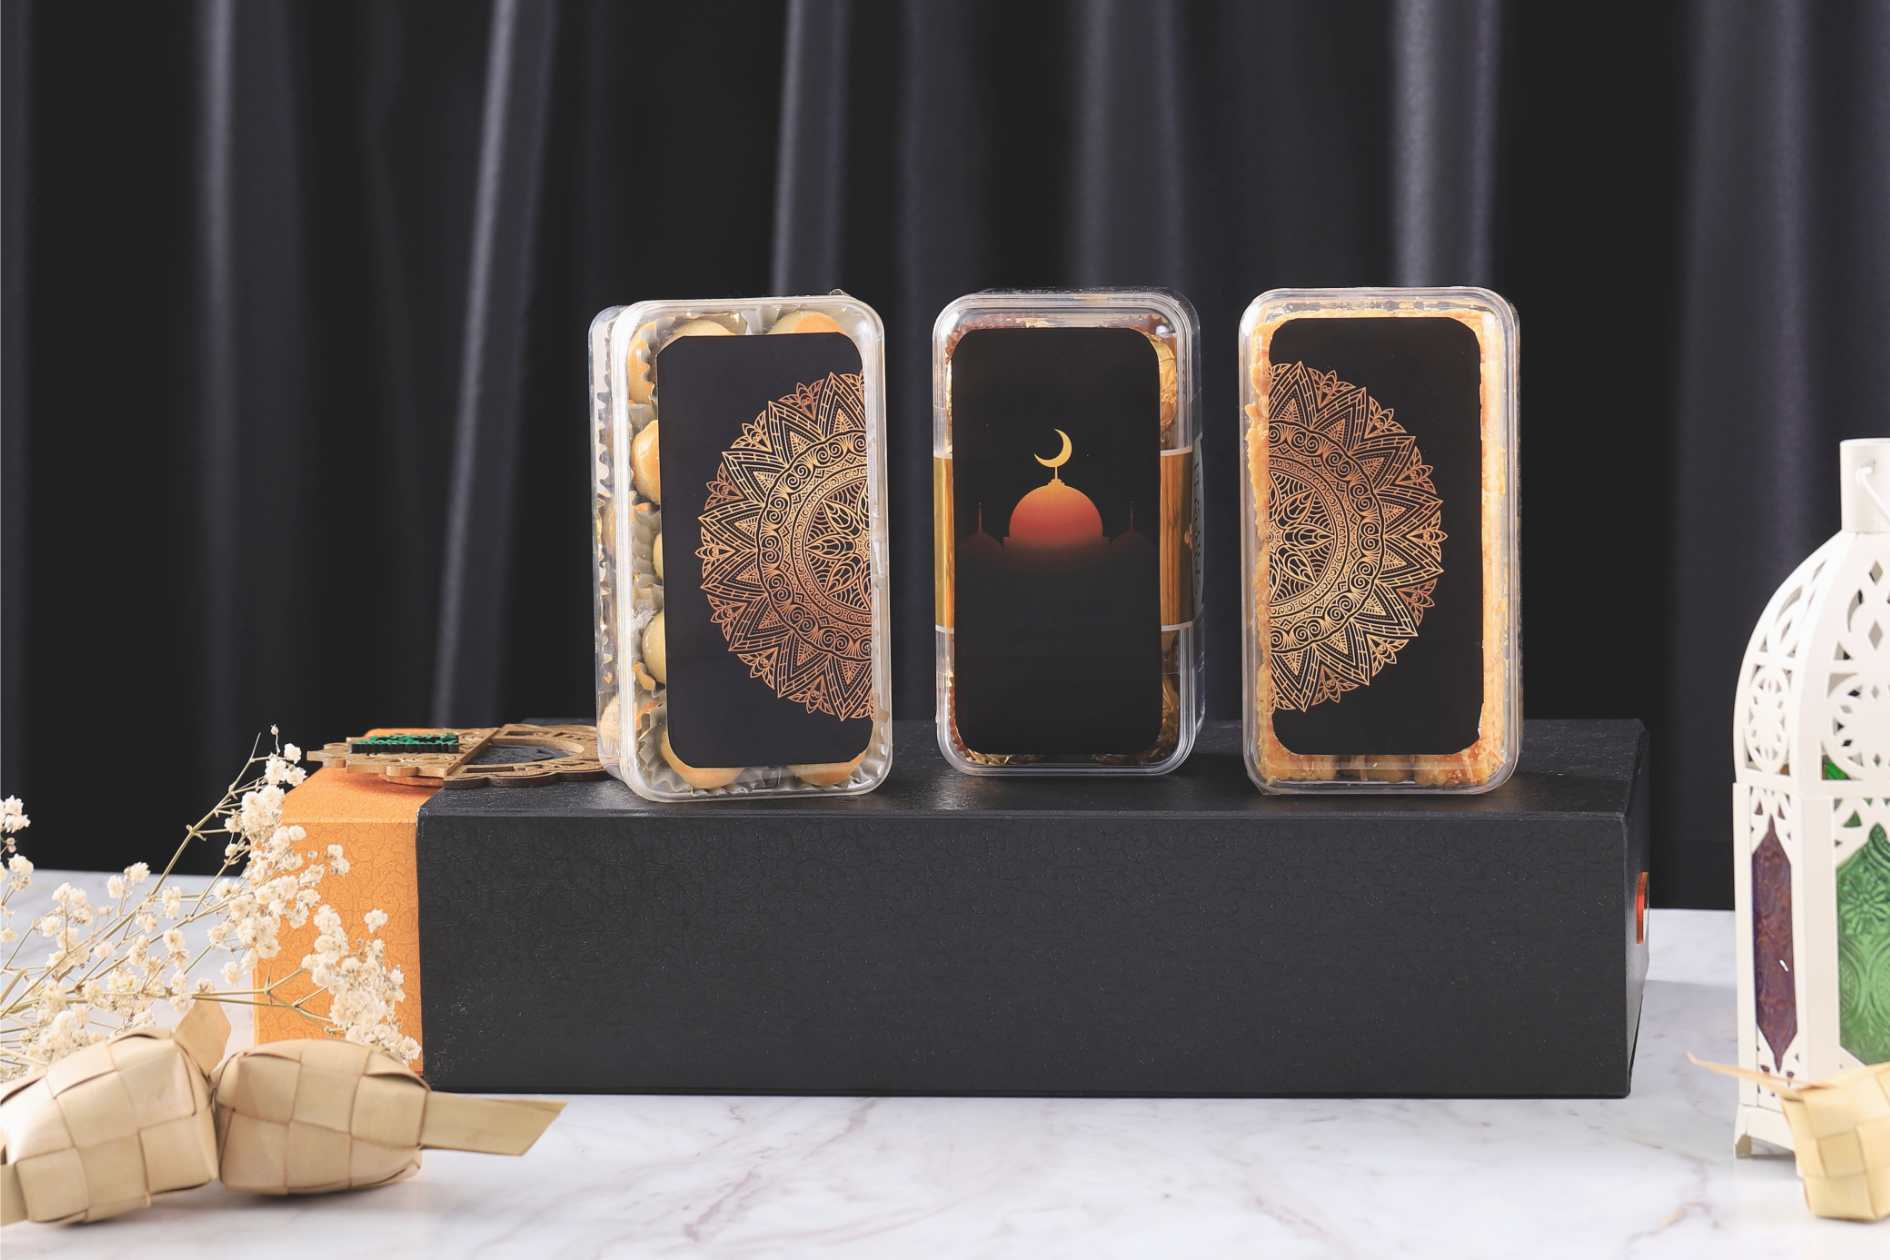
Luxury Corporate Gift Boxes for an Unforgettable Gesture
In today's competitive business landscape, making a lasting impression is more crucial than ever. A luxury corporate gift box is...
Read More

Corporate Gift Hampers: Why They’re the Ultimate Business Gifts
In the world of corporate gifting, the choices are vast and varied, but few options stand out as significantly as...
Read More
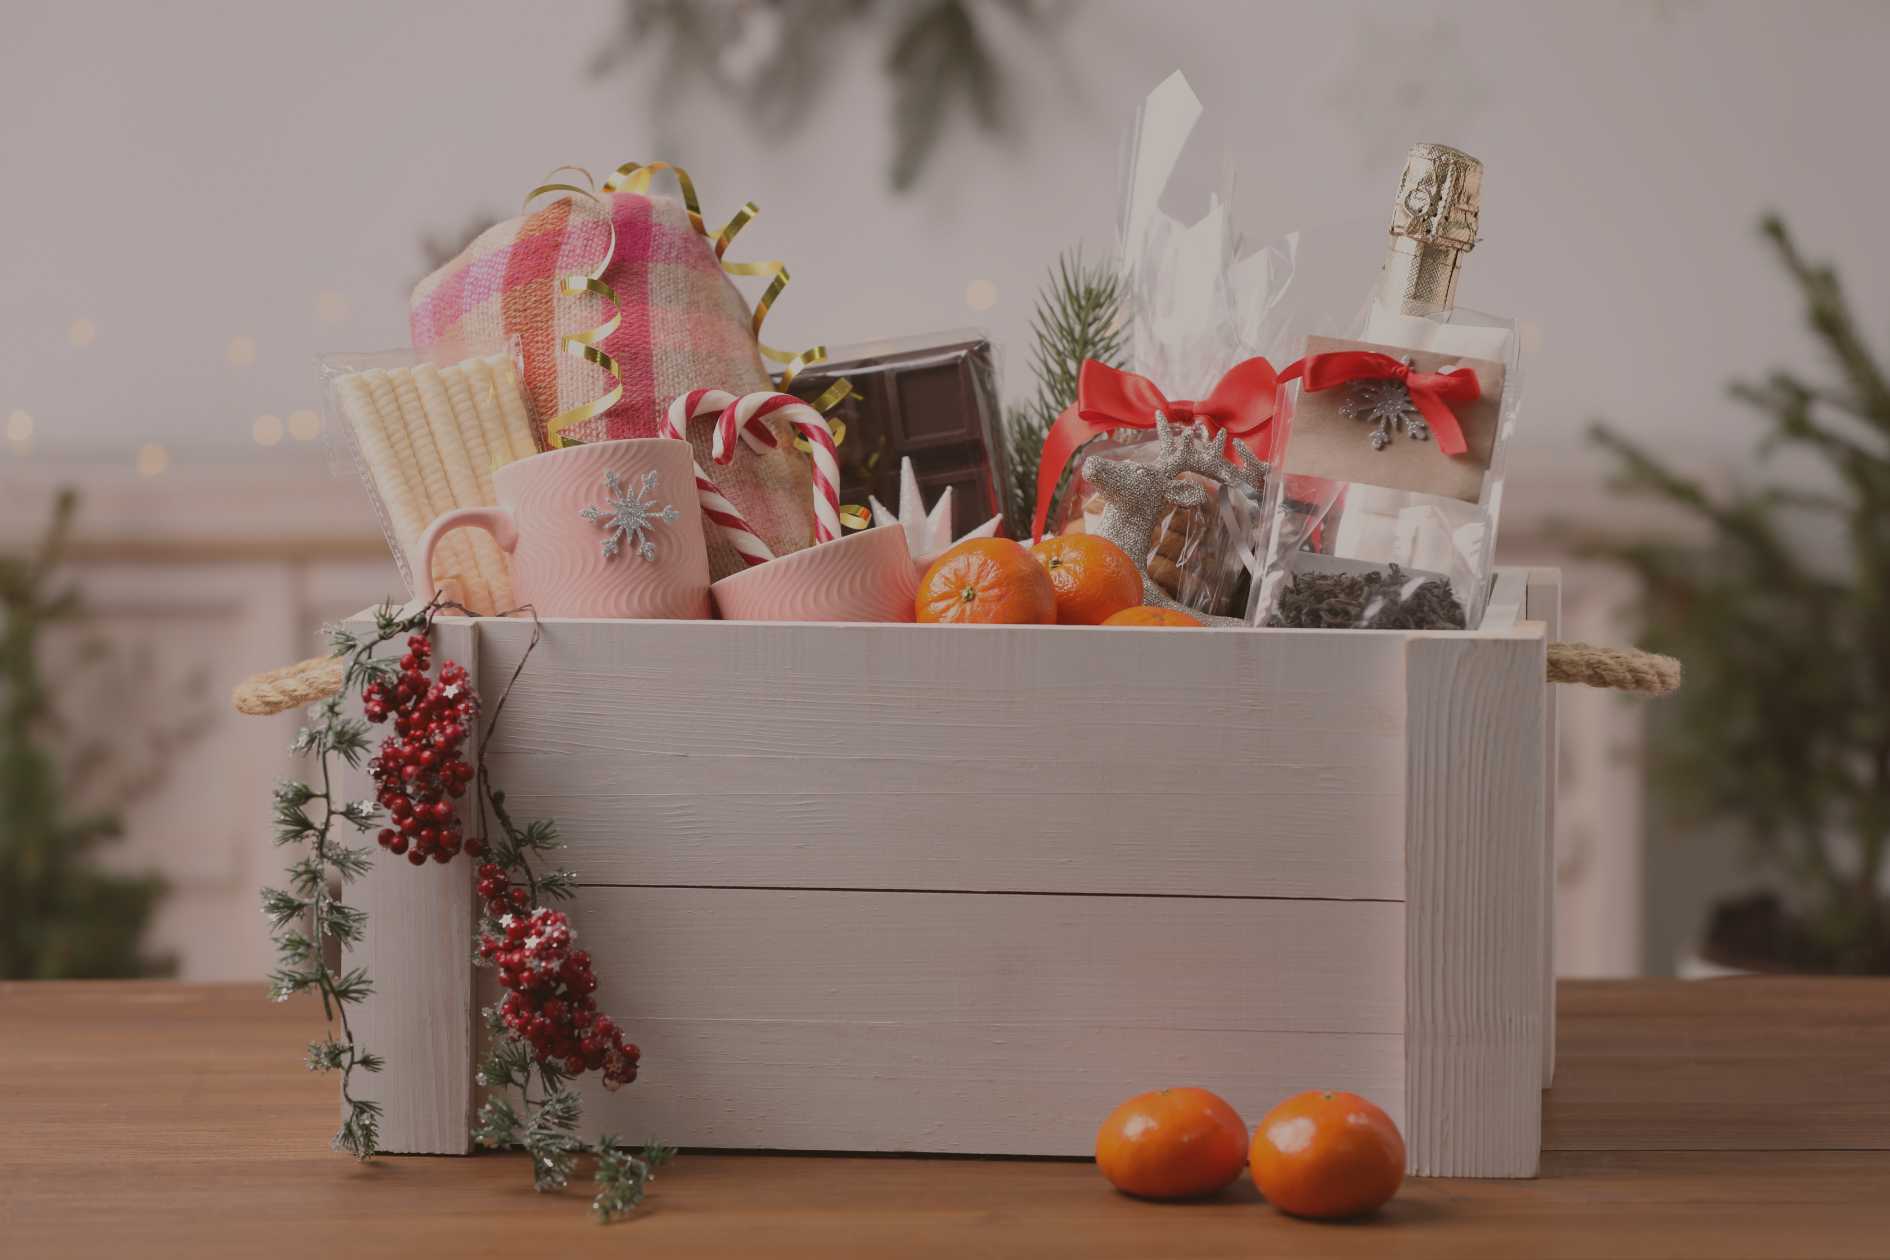
Gift Baskets Melbourne: Find the Perfect Present for Any Occasion
Gift baskets have transcended being mere presents; they are now a delightful way to express sentiments, celebrate milestones, and show...
Read More

Melbourne Gift Hampers: Delivering Happiness to Your Doorstep
Melbourne gift hampers have become a cherished way to convey sentiments, celebrate milestones, and share the joy of giving with...
Read More
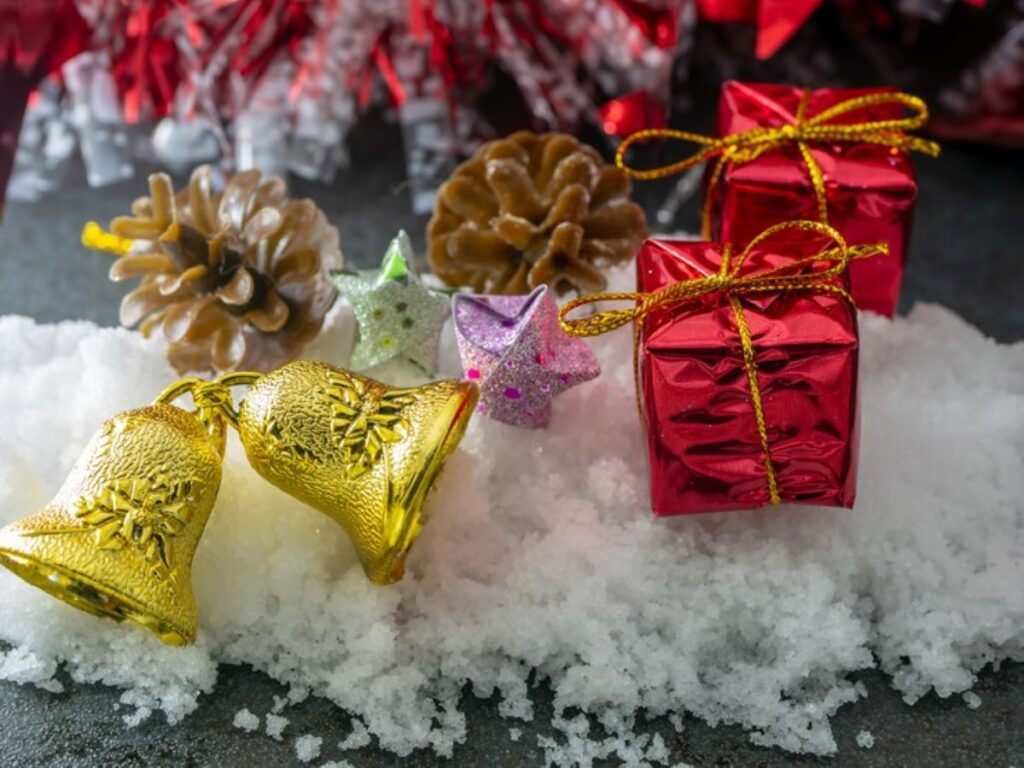
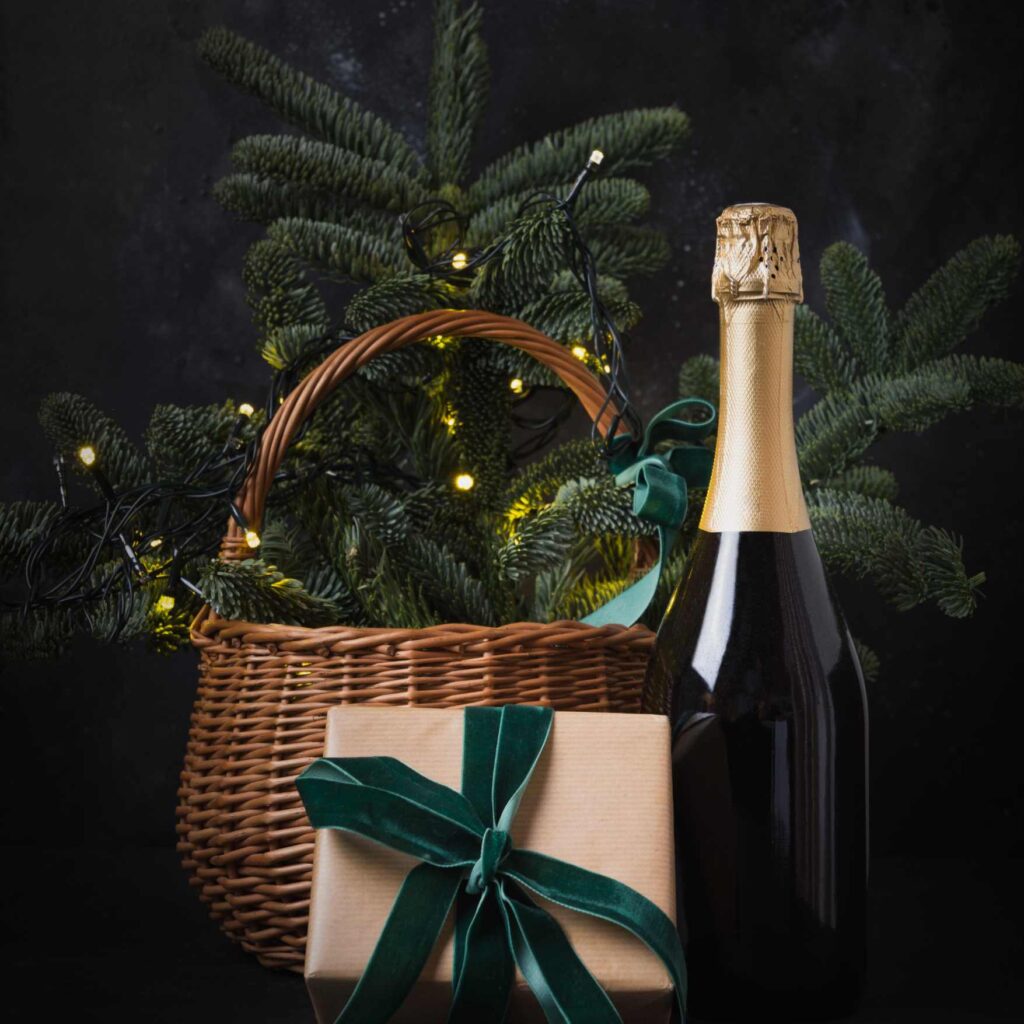
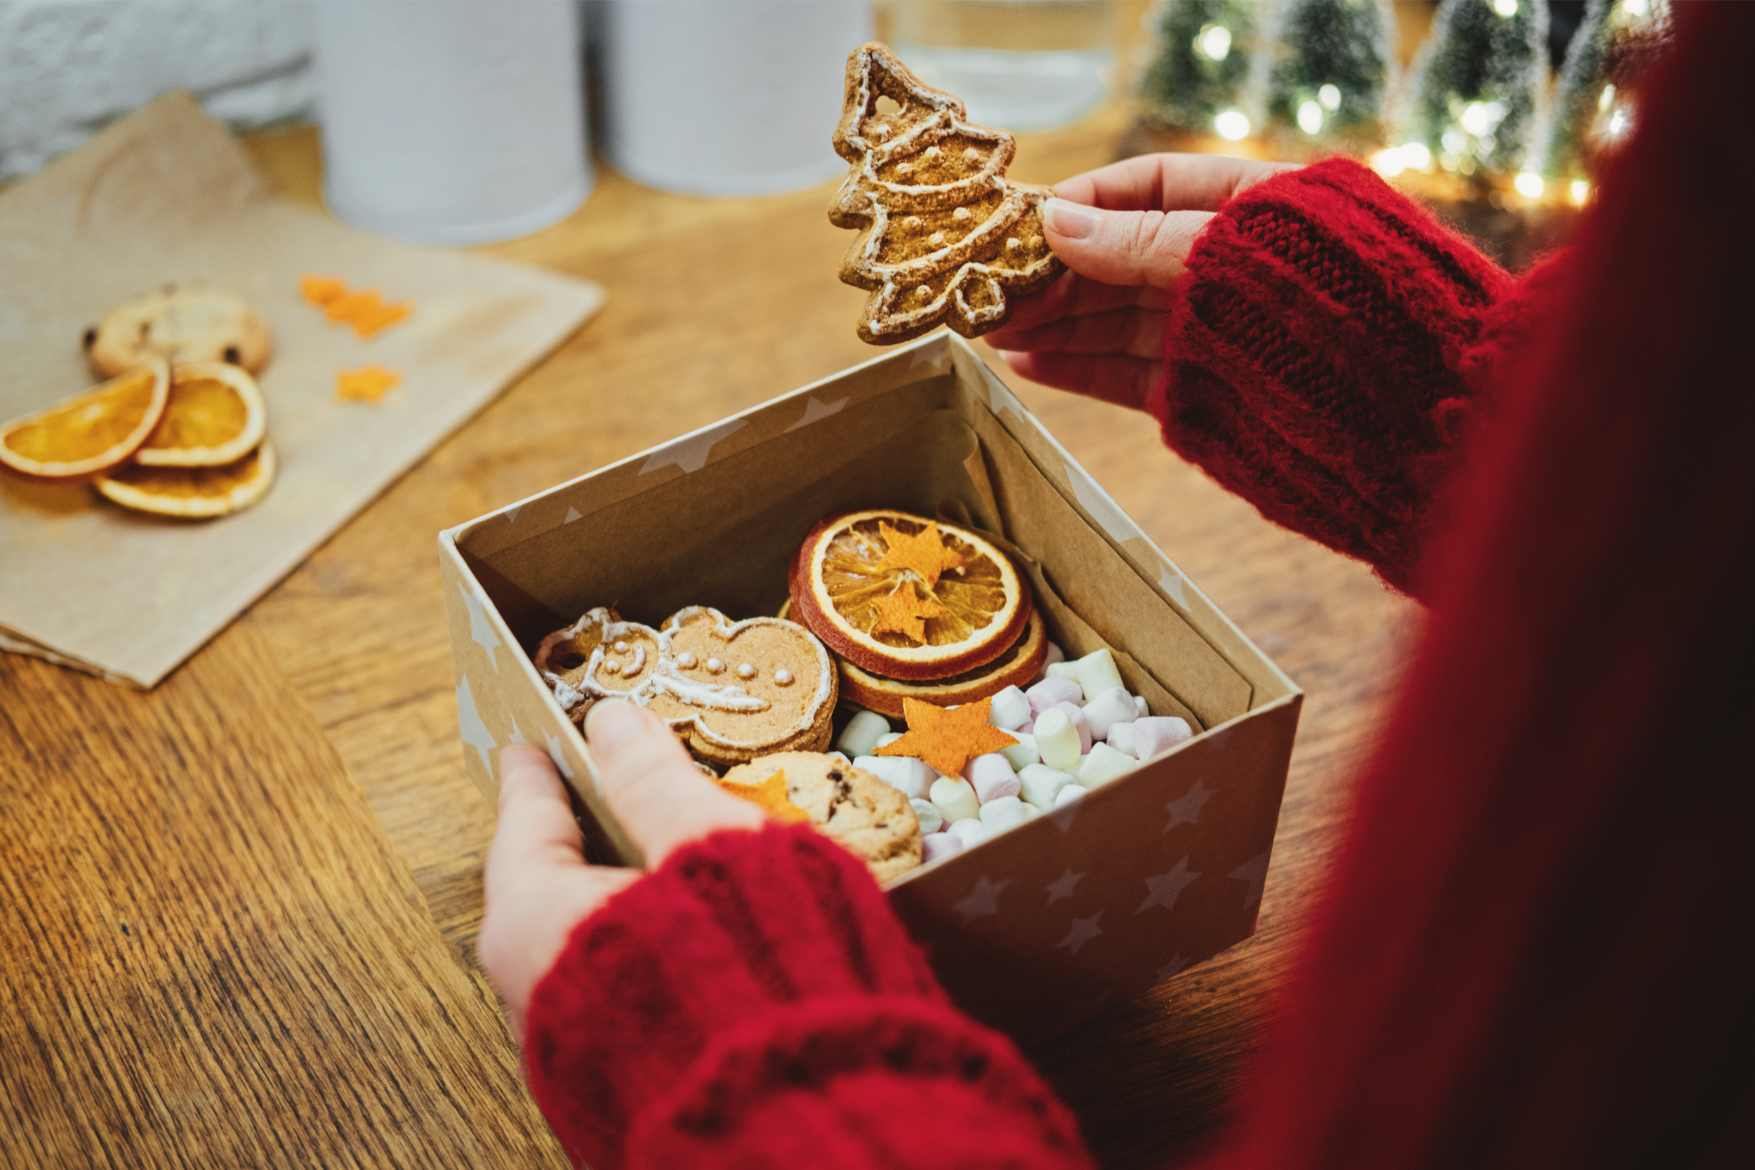
Christmas Gift Boxes for Mum: Show Her You Care This Season
As the holiday season arrives, it becomes increasingly important to take time to show your loved ones just how much...
Read More

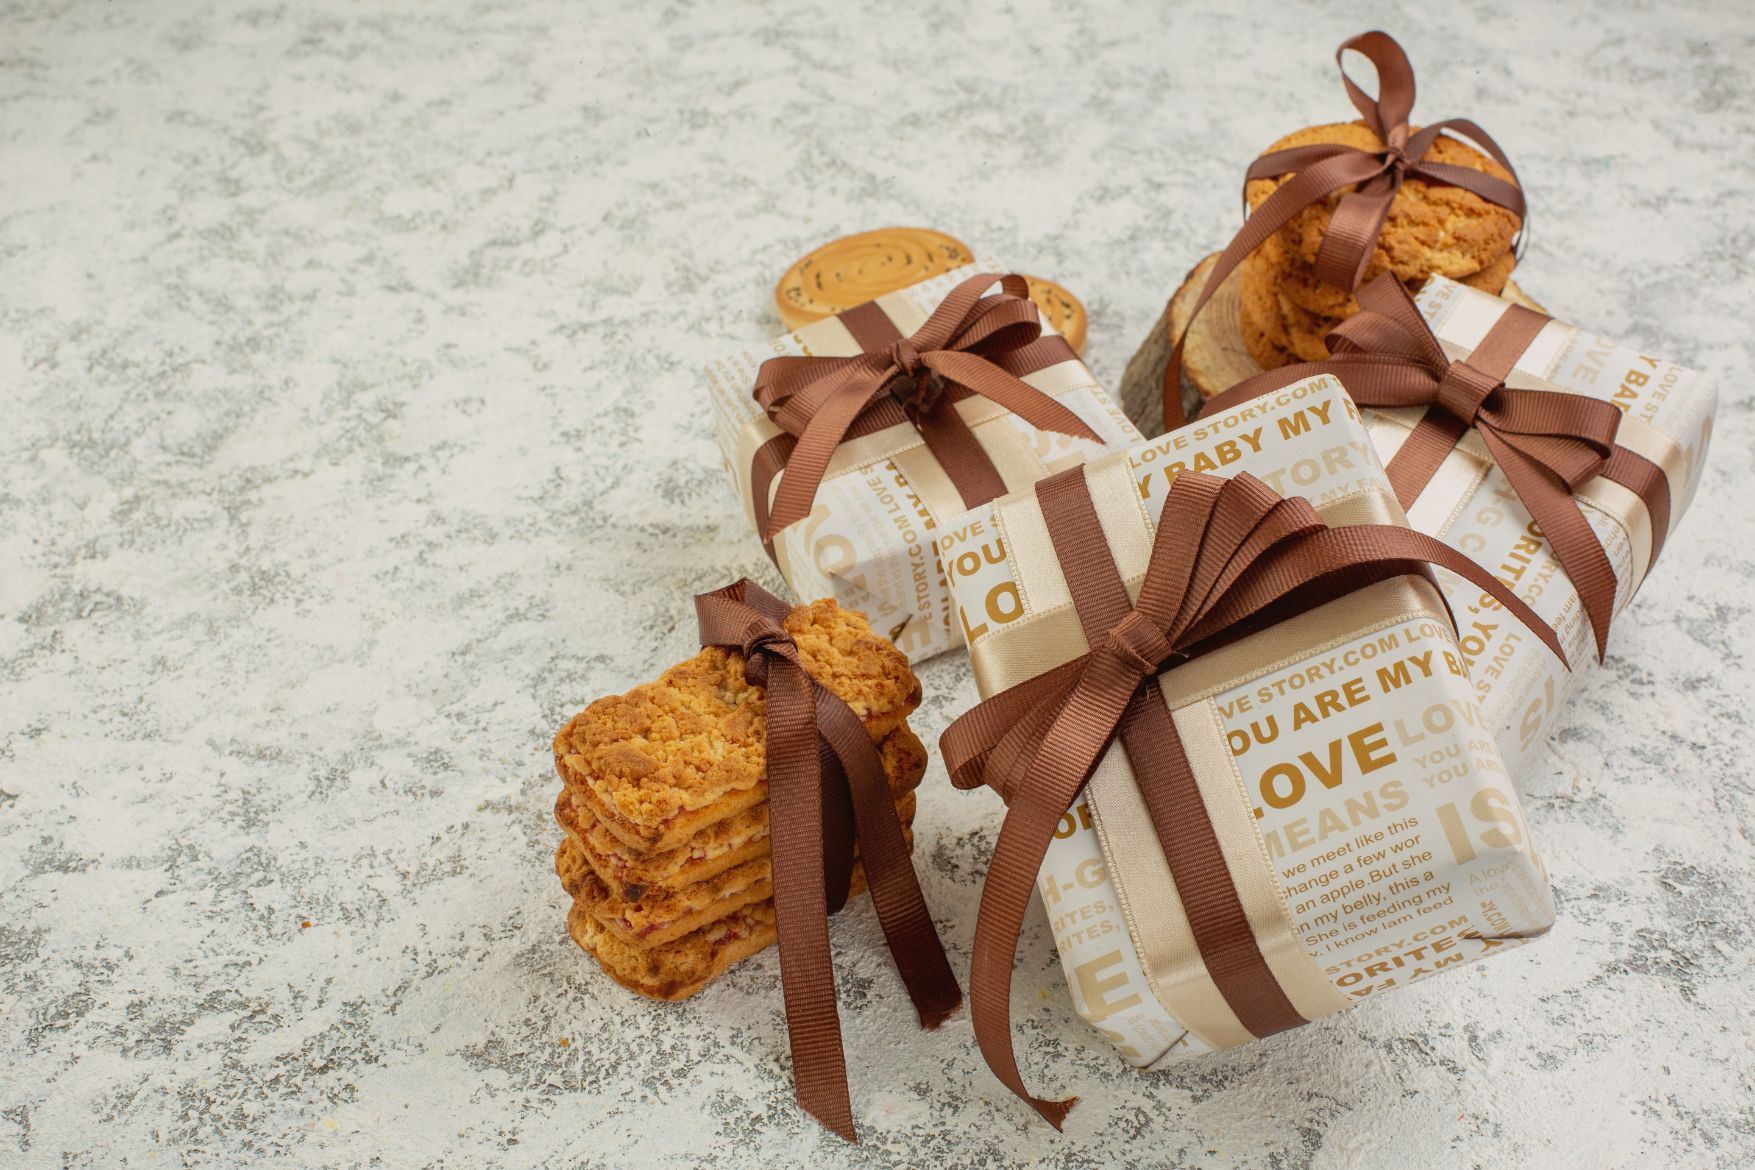
Personalized Christmas Hampers: Adding a Special Touch
The holiday season is a time of joy, festivities, and giving. Among the many gifts exchanged, personalized Christmas hampers stand...
Read More
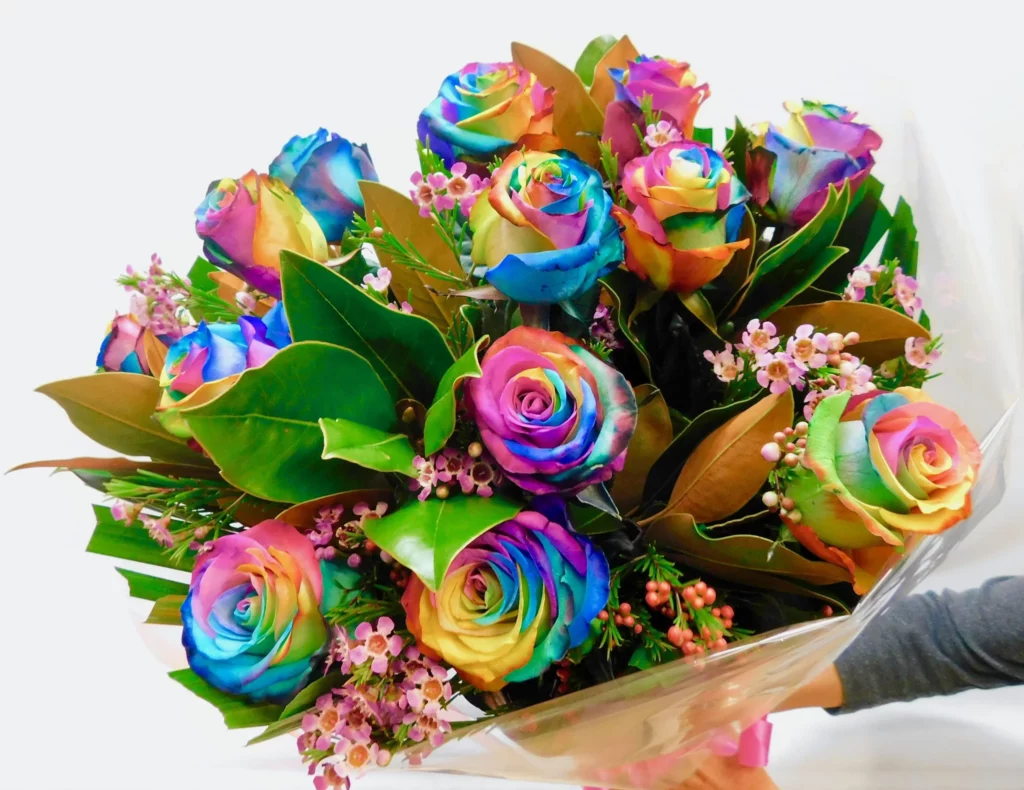
Fresh Flower Delivery Sydney: Ensuring Quality and Freshness
Fresh flowers are not only a beautiful gift but also a way to express emotions and make someone feel special....
Read More

Flower Bouquet Delivery Sydney: Gorgeous Arrangements for All Occasions
Flower bouquets are a timeless gift that can bring joy and beauty to any occasion. Whether it's a birthday, anniversary,...
Read More
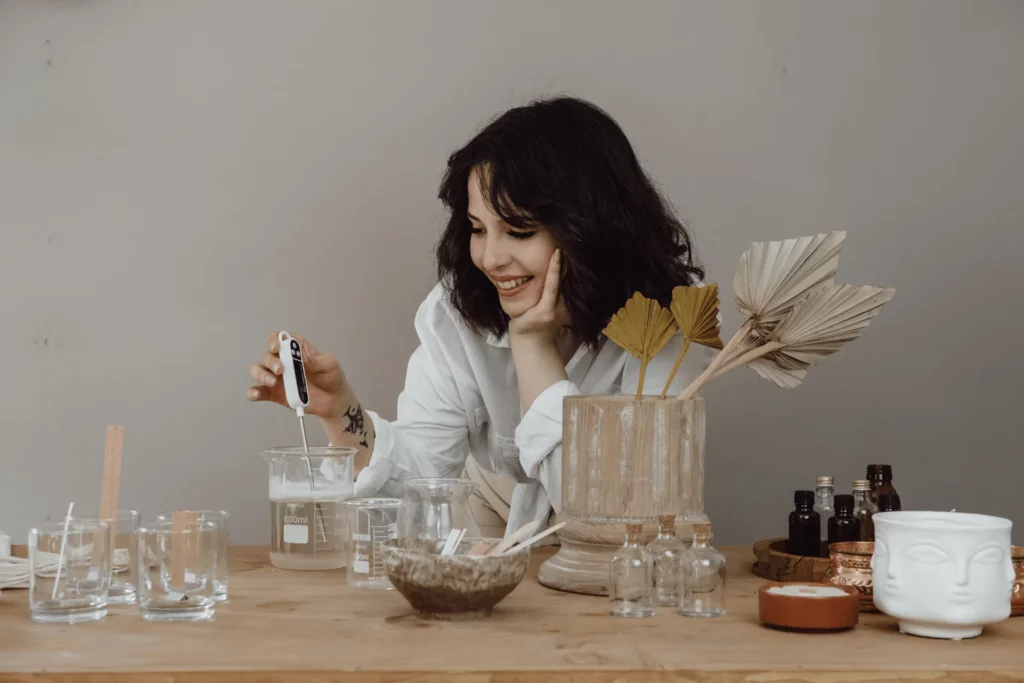
Essential Candle Wick Supplies for Perfect Candle Making
Making candles at home can be a fulfilling and creative hobby. Whether you are a seasoned candle maker or just...
Read More
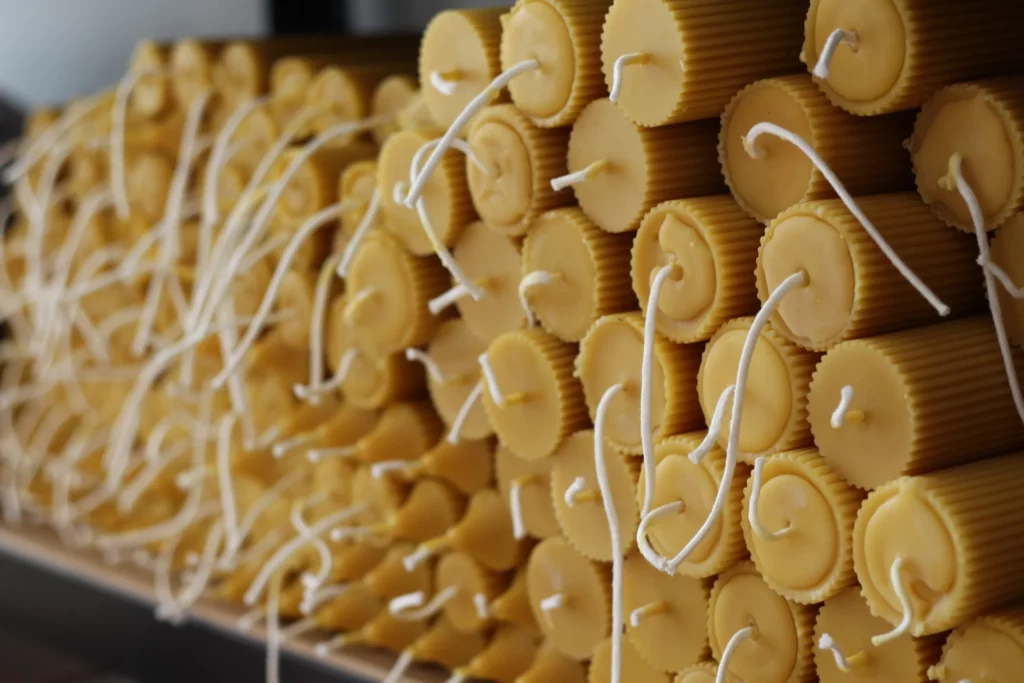
Choosing the Right Candle Wicks for Your DIY Candles
For those who enjoy the relaxation and ambiance that candles bring, making your own DIY candles can be a rewarding...
Read More
Load More


"I couldn't have been happier with the gift hamper I ordered from Home With Willow. The presentation was stunning, and the selection of goodies inside was top-notch. My friend in Sydney was overjoyed when she received it. Highly recommend!"

Kelvin Black
From Dallas, USA
"I've used Home With Willow multiple times for sending gifts to my family in Perth, and they never disappoint. The hampers always arrive on time and are beautifully curated. It's such a convenient way to show someone you care, even from across the country."

Zasha Swan
From Australia
"I received a gift basket from Home With Willow for my birthday, and it truly made my day. The attention to detail was evident in every aspect, from the packaging to the delicious treats inside. It was a delightful surprise, and I'll definitely be using them for my own gifting needs in the future."

Frank Jones
From Japan
"As a repeat customer, I can confidently say that Home With Willow offers the best gift hampers in Australia. The variety of options available caters to every taste and occasion, and the quality of the products is exceptional. Their customer service is also top-notch, making the entire experience seamless and enjoyable."

Jack Brownn
From London, UK